






Starting an indoor herb garden is a wonderful way to bring fresh flavors into your kitchen and add a touch of green to your living space. Whether you live in an apartment or have limited outdoor space, growing herbs indoors allows you to enjoy fresh, fragrant greens all year round. This guide will walk you through everything you need to know to create a thriving small herb garden inside your home.
Why Grow Herbs Indoors?
Indoor herb gardening offers several benefits:
– Freshness: Harvest herbs as you need them, ensuring maximum flavor and nutrient content.
– Convenience: No need to step outside — perfect for year-round availability.
– Air quality: Plants help purify the air in your home.
– Decor: Herbs add a natural and inviting touch to your kitchen or living room.
Choosing the Right Herbs for Indoor Growing
Not all herbs thrive indoors, so it’s best to select varieties that adapt well to indoor conditions. Some popular indoor herbs include:
– Basil: Needs plenty of sunlight and warmth.
– Parsley: Prefers moderate light and consistent moisture.
– Mint: Grows quickly and tolerates lower light but watch for invasive roots.
– Chives: Easy to maintain with moderate light.
– Thyme: Requires bright light and well-draining soil.
– Oregano: Needs bright light and does well indoors with the right care.
What You’ll Need to Get Started
Before you begin, gather the essential supplies:
- **Containers**: Small pots or containers with drainage holes. Herb roots dislike standing water.
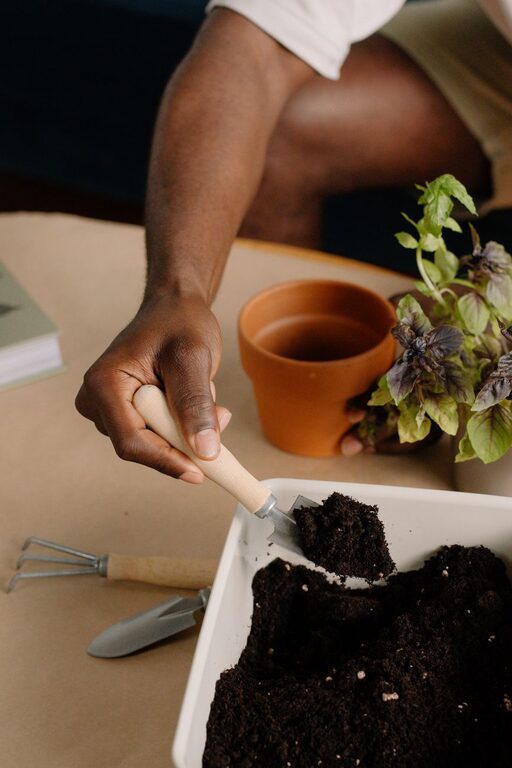
- **Potting Mix**: A lightweight, well-draining mix designed for container plants.
- **Seeds or Starter Plants**: Choose according to your preference and experience level.
- **Light Source**: A sunny windowsill or grow lights if natural light is insufficient.
- **Watering Can**: For gentle watering.
- **Plant Labels**: Optional, but helpful for keeping track of different herbs.
Step-by-Step Guide to Starting Your Indoor Herb Garden
Step 1: Select the Location
Most herbs need 6 to 8 hours of sunlight per day. A south-facing window is ideal. If natural light is limited, consider using LED grow lights to provide adequate illumination. Keep herbs away from drafts or heat sources like radiators.
Step 2: Prepare Your Containers
Choose pots that allow water to drain easily to avoid root rot. Fill each pot with potting mix, leaving about half an inch from the rim.
Step 3: Plant Your Herbs
– From seeds: Follow packet instructions for planting depth. Keep the soil moist until seeds sprout.
– From starter plants: Gently loosen roots and plant at the same depth as in the original container. Water well.
Step 4: Watering and Maintenance
– Water herbs when the top inch of soil feels dry.
– Avoid overwatering; soggy soil can damage roots.
– Mist herbs occasionally to increase humidity but avoid wetting the leaves excessively.
Step 5: Feeding Your Herbs
Use a balanced liquid fertilizer every 4–6 weeks during the growing season. Dilute according to package directions to avoid overfeeding.
Step 6: Pruning and Harvesting
Regularly pinch back the tips of your herbs to encourage bushier growth and prevent flowering, which can make leaves taste bitter. Harvest by snipping leaves or stems as needed, ideally in the morning after dew has dried.
Tips for Success
– Rotate pots to ensure even light exposure.
– Use humidity trays or group plants together if your home is dry.
– Watch for pests like aphids or spider mites. Natural remedies include spraying plants with a mixture of water and mild soap.
– Repot plants if they outgrow their containers.
Conclusion
Starting a small herb garden indoors is a simple, enjoyable project that brings fresh flavors and greenery right into your home. With a little planning and care, you can cultivate herbs that will brighten your meals and your living space. So grab your pots, seeds, and a sunny spot, and start your indoor herb garden today!